Laying linoleum
Many people prefer linoleum, as it refers to the affordable type of flooring. In addition, there are a lot of varieties of material, so everyone will choose for themselves a suitable option. Laying linoleum takes a little time, the main thing is to know how to properly install it. Below are useful tips and instructions, thanks to which even a beginner will cope with the task.
The content of the article
Advantages and disadvantages of linoleum
Linoleum is artificial (PVC) and natural. Any material has both advantages and disadvantages. Benefits include:
- Practicality. No special care required. It is enough to dampen a cloth for mopping in water and wipe it with a floor covering.
- Durability. If the material is used correctly, it does not crack, does not crumble, is resistant to abrasion and can withstand heavy loads.
- Budget price. Along with other materials for flooring, linoleum has a relatively low cost. There are, of course, expensive types of material, but most of them are economical.
- Universality. Linoleum is laid in any room, whether it is an industrial zone or a living room.
- Availability. Material is sold at any hardware store.
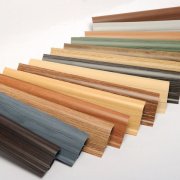
- Diversity. The advantage of this flooring is that manufacturers present a huge variety of palettes.
- Safety. With proper use, linoleum is safe and non-toxic.
- Moisture resistant and good thermal insulation.
The disadvantages of the material include:
- Artificial linoleum is unstable to temperatures. In frost, the material becomes hard, brittle and crack. At excessively elevated temperatures, the material loses strength and deforms.
- The new material has a specific smell, but it disappears 3-5 days after flooring. To get rid of the problem faster, ventilate the room more often.
Note. If we talk about natural linoleum, it is more environmentally friendly, more resistant to mechanical damage, withstands high temperatures and does not deform.
The main types of material
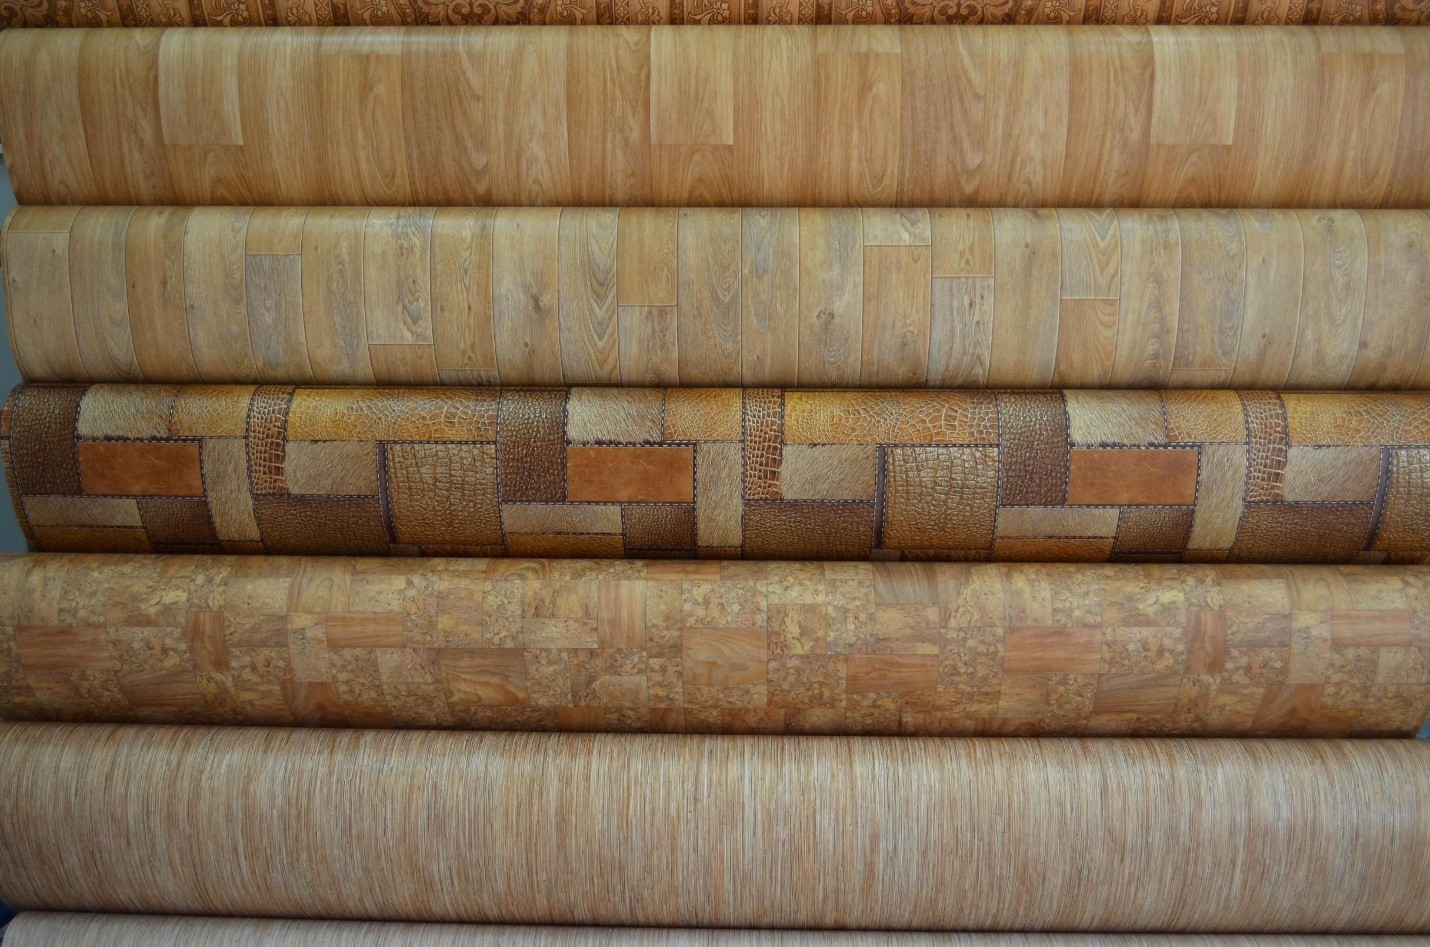
Material is classified by composition. It is synthetic from artificial fiber and natural, made from natural components: jute, linseed oil, natural dyes, wood flour. In addition, linoleum is distinguished by types and types of flooring.
| View | Characteristic |
|---|---|
| Domestic | Designed for flooring in residential areas and is not designed for excessive loads. Compared with other types of household linoleum refers to the budget option, due to which it is popular. Flooring is possible in two ways: on a dry or adhesive basis |
| Commercial | The main purpose is use in offices, beauty salons, company stores and other commercial organizations. It features high wear resistance and can withstand quite large loads. It is subdivided into heterogeneous (from 2 to 6 mm thick) and homogeneous (thickness 1.5–3 mm) |
| Semi-commercial | Something between commercial and domestic coverage. It is not inferior in strength to other types, but differs in ease of laying and has a large selection of palettes. Intends material for small office rooms, hospitals and small hotels |
| A type | Description |
|---|---|
| Based | Fabric and felt base - for rooms with low humidity. Jute and artificial base - for any room |
| Without foundation | The material has a thickness of 1.2 to 1.6 mm. Its advantage is moisture resistance. The disadvantage is that it fits only on a flat surface, otherwise tubercles and irregularities will be visible. If you compare materials on the basis of and without it, then the former are stronger and will last much longer |
Note. For the kitchen, a commercial look is more suitable. This is due to the fact that during cooking, a burning match or hot oil can get on the floor. Damage will immediately form on household linoleum, and on a commercial one with high heat resistance, there will be no defects.
Foundation preparation
Repair of floors before laying linoleum is mandatory. If mistakes are made at this stage, the service life of the material is reduced. To properly prepare the surface, you need to familiarize yourself with the nuances and general recommendations of experienced professionals. Further, it is described in detail how to properly process a wooden and concrete base, as well as what tools will be required for this.
Wooden surfaces
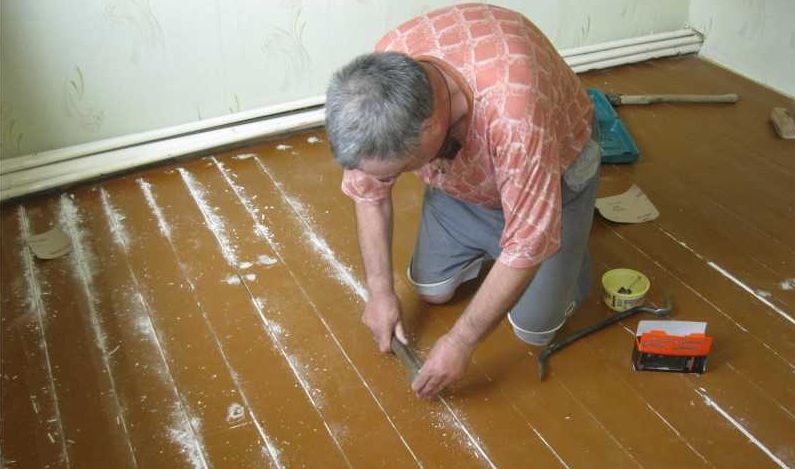
Installation of linoleum begins with a thorough treatment of wood surfaces. To keep the topcoat even, follow the guidelines below:
- If the surface is uneven, there are cracks, crevices and “burrs”, they are eliminated, since after laying the material these defects will appear on the surface. It doesn’t matter if linoleum is laid on the parquet or on another wooden floor.
- Irregularities located on a wooden surface are cleaned with emery, and the cracks and differences between the boards are leveled. If the difference is more than 1 cm, then it is better to use plywood. In other cases, fiberboard is used for alignment. Laying linoleum on plywood is possible only when the edges and joints are aligned with sandpaper.
- To make the floor even, they plan it. At the same time, movements are made across and then along.
- If there are chips on the board surface, then they are smoothed with putty, and then polished.
- When the preparatory procedures are completed, a thorough inspection of the floor for defects is carried out. Rotten boards cover necessarily change.
- Before installing linoleum on the parquet, 5-10 elements are removed from the floor to ensure that there is no mold and rotten zones. If any are found, then the entire parquet will have to be dismantled. It is impossible to lay a cloth on a damaged surface.
The final stage before the substrate and linoleum flooring is moisture measurement using a special moisture meter. Favorable relative humidity ranges from 10 to 15%. If it is higher, then the boards need to be dried by airing the room. The drying time of a given surface is indicated in the table.
| Type of coating | Drying time |
|---|---|
| Wood | From 1 to 1.5 months. |
| Gypsum | 4 to 6 weeks |
| Concrete | From 21 to 30 days |
| Cement-sand | 1 to 1.5 months |
If fasteners (screws, etc.) were used to install plywood or fiberboard, it is important that the caps are inside, and not on the surface. This will protect linoleum from damage.
Important! The canvas is laid only on a dried base. If moisture is present, soon the material will begin to rot and a fungus will appear. This is dangerous to human health, so installing linoleum on a damp surface is strictly prohibited.
Concrete base
The first thing to do is to carefully inspect the concrete base. Depending on the defects found, follow the instructions:
- If cracks, chips and potholes are found, prepare a cement mortar. The resulting mixture to align defects. This method is called “plugging”.
- If the concrete screed is badly damaged, it is better to pour cement in 1 layer. In this case, the coating will become even and suitable for laying linoleum.
- After the leveling step is completed, the concrete base must dry.It is impossible to lay linoleum on a damp surface.
- When the coating dries, you can begin to lay the substrate. It is needed to keep warm, to extend the life of the floor, as well as to mask irregularities.
Lining material is made from various raw materials: cork fabric, jute, combined substrates (from a mixture of natural fibers) and foam. The latter belong to the low price category, but are inferior in quality to other types.
Tool
To lay linoleum, you need skills and the right tools. Without them, high-quality installation of flooring will not work.
The main equipment includes:
- Ruler. More suitable is metal, designed for 1-1.5 m or 2-3 m (depending on the area of the room). It will be required to measure material cuts and the distance from one wall to another.
- The device for pressing linoleum. It is purchased in a specialized hardware store or selected from improvised means. A heavy board will come up, which will press the linoleum to the floor and hold it.
- Putty knife. It is better to purchase two tools: the first is serrated, 15−20 cm, the second is smaller, with a flat edge. They are useful for leveling the base in front of linoleum flooring, as well as for aligning joints and seams.
- Knife for cutting linoleum. A special tool with a blade made in the shape of a trapezoid (sold in hardware stores) is suitable.
In addition, you will need a roller for rolling the material, special glue for sealing joints and masking tape to fix the joints (if the canvas is not solid). If welding of joints is provided, a welding machine for linoleum and its accessories are prepared.
Main works
The sequence of laying linoleum is very important. If the order is violated, difficulties arise, and the work done has to be redone. To avoid this, follow the instructions below.
Work sequence
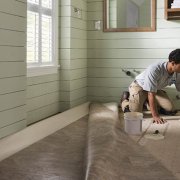
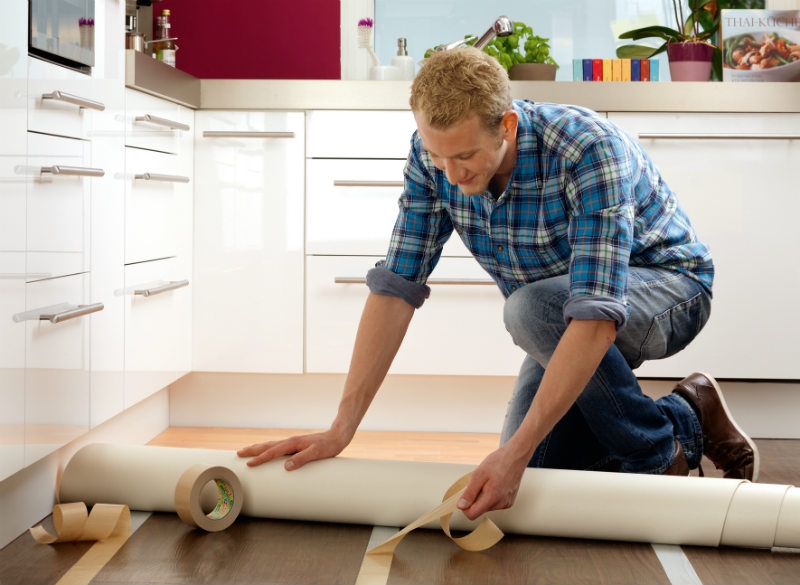
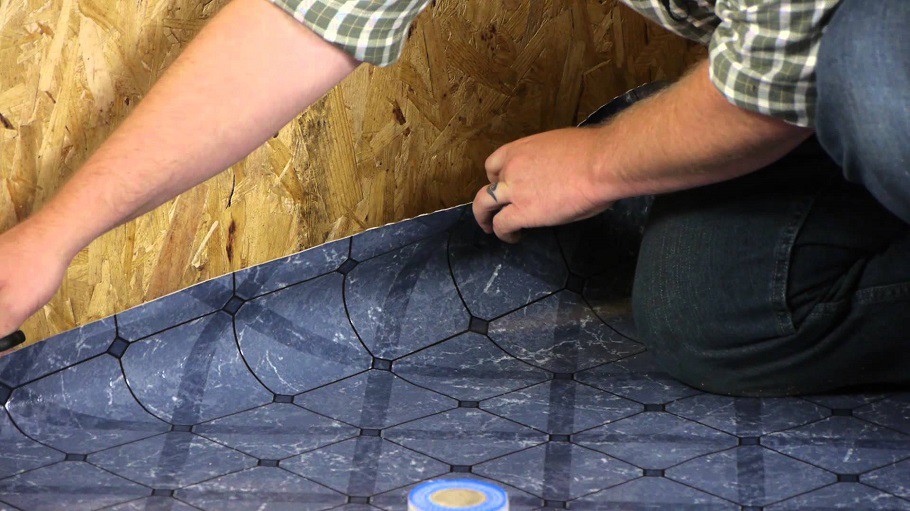
To begin with, measure the area of the room and acquire linoleum with a margin. Then deploy the roll in the room and leave to "lay down" for 5-6 hours. This is necessary to straighten the canvas. Next, prepare the tools that will be required for work. After the preparatory stages, they begin to lay the material:
- If linoleum is laid on a concrete screed, then a substrate is laid under the canvas. This is the second stage after preparing the foundation. Lining fabric is spread over the entire area of the room to the junction of the wall with the floor. Laying linoleum on fiberboard does not oblige to use a lining, but it will not be superfluous, since the lining material provides additional insulation and sound insulation.
- Laying linoleum on the floor begins with spreading the canvas, in compliance with the rules for combining the picture. Then roll out linoleum roller. To prevent the formation of bubbles, smooth the canvas from the center to the edges.
- Lay linoleum with an overlap of material on the wall of at least 2-3 cm. Excess cut with a knife. To obtain an even cut, a ruler is tightly applied to the junction of the wall and the floor, then the excess is removed along the line of the obtained bend.
- After the edges are removed, leave linoleum for two days, so that it straightens and takes the desired shape.
- After two days, they begin to install the canvas:
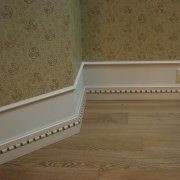
- In a living room, a dry technique is often used. Before this, smooth the material again to eliminate possible bubbles. Then the plinth is laid on linoleum.
- If linoleum is laid on glue, then one side of the panel is folded first and a glue solution is applied to the base with a notched trowel. Do the same with the other side. The thickness of the adhesive layer in the linoleum structure is from 4 to 7 mm.After applying glue to the synthetic material, they stand for 10-15 minutes, then linoleum is applied to the coating and straightened with a roller.
- The natural fabric is pressed immediately after applying the adhesive solution. After two days, plinths are installed and the room is equipped.
The video shows how to properly lay linoleum on the floor.
Laying linoleum is not as complicated as it might seem at first glance. The main conditions are the proper preparation of the surface on which the installation will be carried out, as well as the observance of the sequence of stages of laying. If to lay a covering according to the instructions given above, then a positive result is guaranteed.